How to Make Butter at Home: A Step-by-Step Guide
Learn how to make butter at home from heavy cream with a jar, mixer, food processor or churn, plus washing, salting, buttermilk uses and storage tips.
Jump to the Recipe Scaler
If you have ever wondered how to make butter at home, the answer is reassuringly simple: pour cold heavy cream into a jar, a mixer bowl or a churn and keep it moving until the fat clumps together and separates from a thin, milky liquid. That liquid is real buttermilk. Drain it off, rinse the butter in ice water, add salt if you like, and you have fresh butter in well under an hour. No special skills, no cultures and no fancy equipment are required.
This guide walks through every step, compares the four common churning methods, and covers the details that decide whether your butter keeps for days or for weeks.
Quick answer: Start with heavy cream (about 36% milkfat or higher). Agitate it until it passes the whipped cream stage and breaks into butter and buttermilk. Strain, then knead the butter in several changes of ice water until the water runs clear. Salt to taste, shape, wrap and refrigerate. Two cups of heavy cream typically gives you roughly a cup of butter and about a cup of buttermilk, though the exact yield depends on the cream.
What You Need to Make Butter
The ingredient list is short. The equipment list is flexible, because almost anything that can shake or beat cream will do the job.
Affiliate disclosure: some links below go to Amazon. As an Amazon Associate, Purely Wholesome Farm earns from qualifying purchases, at no extra cost to you. We only link to items that fit the method described here.
Ingredients
- Heavy cream or heavy whipping cream, as cold or as cool as the method calls for (more on temperature below). Two cups is a good first batch.
- Fine salt (optional). Sea salt or kosher salt both work; fine grains dissolve and spread more evenly.
- Ice water for washing the butter.
Equipment
- Something to agitate the cream. A quart mason jar with a tight lid, a stand mixer, a hand mixer, a food processor, or a dedicated churn such as the hand-crank Kilner Butter Churn. If you already own a KitchenAid Classic 4.5-Quart Stand Mixer or something similar, you have everything you need.
- A fine strainer or cloth. A mesh sieve lined with Grade 90 unbleached cheesecloth catches the small butter grains that slip through a plain sieve.
- Butter paddles or a sturdy spatula for pressing out buttermilk. Ridged wooden paddles like the Kilner Beech Wood Butter Paddles are traditional and keep your warm hands off the butter.
- A bowl for washing, plus parchment, wax paper or a mold for shaping.
Choosing the Right Cream
When people ask how to make butter that tastes great, the honest answer is that the cream you start with matters more than the method. Butter is mostly milkfat (commercial butter in the US must contain at least 80%), so the more fat in your cream, the more butter you get from every cup.
Heavy cream vs whipping cream
In the US, "heavy cream" and "heavy whipping cream" are labeled for 36% milkfat or more, while plain "whipping cream" or "light whipping cream" sits between 30% and 36%. Both make butter, but heavy cream yields more and comes together faster. Half-and-half and light cream do not have enough fat to churn into butter reliably.
Pasteurized, ultra-pasteurized and raw cream
Regular pasteurized cream is the easiest to work with and tends to have the cleanest, sweetest flavor. Ultra-pasteurized cream, which is what most grocery stores carry, still works; some cooks find it takes a little longer to break and tastes slightly cooked, but it is perfectly fine for a first batch.
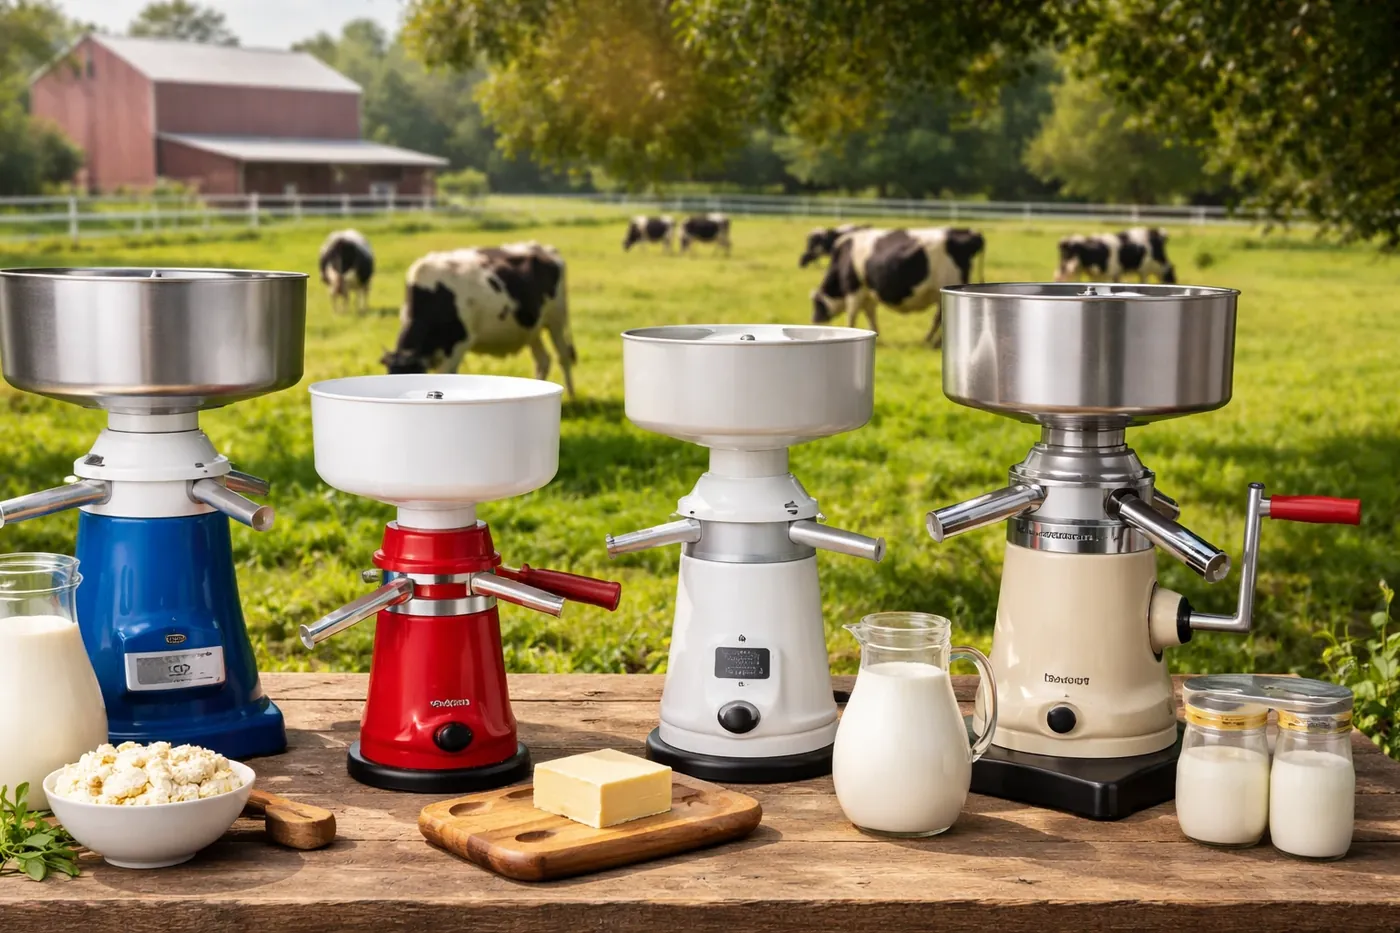
If you have access to farm cream, perhaps skimmed by hand or run through a small cream separator, it makes wonderful butter. Be aware that raw (unpasteurized) dairy carries a real risk of foodborne illness, and health agencies advise against it for children, pregnant people, older adults and anyone with a weakened immune system. Use pasteurized cream unless you are confident in your source and comfortable with that risk.
Temperature
Cream straight from the refrigerator whips beautifully but can be slow to break into butter. Many traditional butter makers aim for cream that is cool rather than ice cold, roughly in the mid-50s °F, because the fat globules are firm enough to hold together yet soft enough to clump. In practice, letting refrigerated cream sit on the counter for 20 to 30 minutes before churning is a good middle ground. If your kitchen is very warm, keep the cream colder; overly warm cream gives you greasy, soft butter that is hard to wash.
How to Make Butter Step by Step
These steps work for any method. The only thing that changes is how you move the cream in step two.
Step 1: Prepare your setup
Fill a large bowl with ice water. Set a sieve over a second bowl to catch the buttermilk. If you are using a stand mixer, have a clean kitchen towel ready to drape over the bowl later.
Step 2: Agitate the cream
Pour the cream into your jar, bowl or churn. Fill a jar or churn no more than about half full so the cream has room to slosh. Then start shaking, beating or cranking. You will see the cream go through clear stages:
- Foamy and loose. Bubbles form and the cream thickens slightly.
- Soft peaks, then stiff whipped cream. In a jar, you will notice the sloshing sound stop because the cream is too thick to move. Keep going.
- Grainy and broken. The whipped cream turns slightly yellow and looks curdled or crumbly.
- The break. Suddenly liquid splashes out and you can see clumps of butter in thin, bluish-white buttermilk. In a jar, the sloshing sound returns and you feel a solid lump knocking against the glass.
Once the butter breaks, slow down. A minute or two more of gentle mixing helps the small grains gather into larger clumps, which are easier to strain.
Step 3: Strain off the buttermilk
Pour everything through the lined sieve. Save the buttermilk in a covered jar in the fridge; it is excellent for baking. Gather the butter into a ball with a spatula or paddles.
Step 4: Wash the butter
This is the step beginners skip, and it is the one that decides how long your butter lasts. Leftover buttermilk trapped in the butter sours quickly and gives it an off flavor within days. Put the butter in a bowl, pour in enough ice water to cover, and press and fold it with paddles or a spatula. The water will turn cloudy. Pour it off, add fresh ice water and repeat until the water stays nearly clear. That usually takes three or four rinses.
Step 5: Press out the water
Drain the last rinse and keep pressing the butter against the side of the bowl, tipping off the water that beads out. The less moisture left behind, the firmer and longer-keeping your butter will be.
Step 6: Salt, shape and chill
Sprinkle in salt if you want salted butter and work it in evenly (see the salting guide below). Shape the butter into a log in parchment, press it into a ramekin or mold, then wrap it and refrigerate until firm.
Four Ways to Churn Butter: Jar, Mixer, Food Processor or Churn
Learning how to make butter does not require buying anything new. Every method below works; the right choice depends on how much cream you have and what you already own. Times are typical ranges only; cream fat content and temperature change them a lot.
| Method | Typical time | Best batch size | Good to know |
|---|---|---|---|
| Mason jar (shaking) | 10 to 30 minutes | 1 to 2 cups | Fun with kids; tiring for big batches. Fill no more than half full. |
| Stand mixer | 5 to 15 minutes | 2 to 4 cups | Hands-off and fast. Cover the bowl with a towel at the break; buttermilk splashes. |
| Hand mixer | 8 to 15 minutes | 1 to 2 cups | Use a deep bowl and a low speed once the cream turns grainy. |
| Food processor | 3 to 8 minutes | 1 to 3 cups (per bowl size) | Very quick; check your model's maximum liquid line so it doesn't leak. |
| Hand-crank churn | 10 to 25 minutes | Depends on the churn | Traditional, steady and quiet. Nice if you make butter regularly. |
For occasional batches, a jar or your mixer is plenty. A dedicated churn makes sense when you have a steady supply of cream and want a routine that does not tie up your mixer.
Washing, Salting and Shaping Your Butter
How much salt to add
Salt is a matter of taste. A common starting point is about 1/4 teaspoon of fine salt per half cup (one stick) of butter for lightly salted butter, and up to 1/2 teaspoon for a more pronounced, old-fashioned flavor. Add less than you think, knead it in, taste a small piece and adjust. If you plan to bake with the butter, many cooks leave it unsalted so they can control the salt in each recipe.
Flavored butters
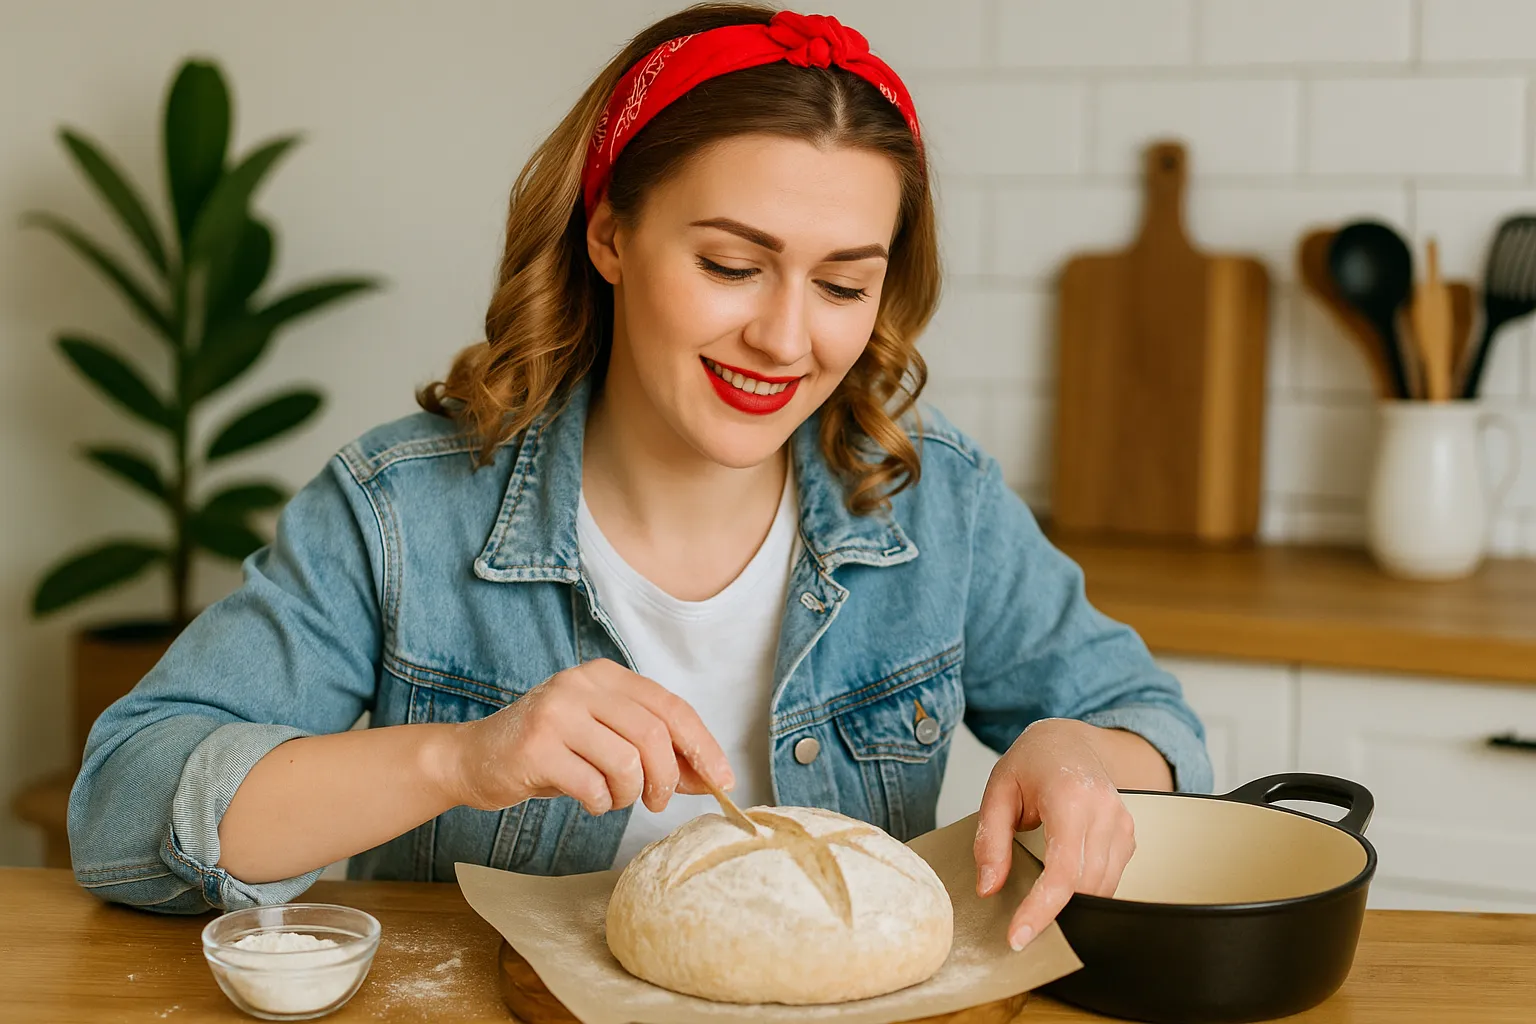
Fresh butter is a perfect base for compound butters. Once the butter is washed and drained, fold in finely chopped herbs and garlic for steaks and bread, honey and cinnamon for biscuits, or flaky salt for topping a warm loaf of rustic artisan bread. Flavored butters with fresh garlic or herbs should be kept refrigerated and used within a few days, or frozen.
Shaping and molding
For everyday use, roll the butter into a log in parchment or wax paper and twist the ends. For gifts or a holiday table, press it into a ramekin or a mold such as these silicone butter molds with lids. Chill the butter until firm before unmolding. A small crock of homemade butter tucked into a basket with fresh bread makes one of the easiest edible gifts you can give.
What to Do With the Buttermilk
The liquid left after churning is the original buttermilk. It is thinner and milder than the cultured buttermilk sold in stores, which is made by adding bacterial cultures to milk. You can use it anywhere you would use milk in baking:
- Pancakes, waffles and biscuits
- Quick breads, muffins and soda bread
- Mashed potatoes or creamy soups
- A marinade for chicken, much like a brine, to keep the meat tender
Because it is not acidic like cultured buttermilk, it will not react with baking soda the same way. If a recipe relies on buttermilk's tang to activate baking soda, add a teaspoon of lemon juice or vinegar per cup, or use it in recipes leavened with baking powder. Keep it covered in the fridge and use it within a few days.
How to Make Cultured Butter
Cultured butter has the slightly tangy, nutty depth you find in European-style butters. It is made by ripening the cream with live cultures before churning. A simple home method:
- Stir about 2 tablespoons of store-bought cultured buttermilk, or plain yogurt labeled with live and active cultures, into 2 cups of heavy cream.
- Cover loosely and leave it at cool room temperature for roughly 12 to 24 hours, until it thickens and smells pleasantly tangy, like sour cream.
- Chill the ripened cream for an hour or two so it is cool, then churn, wash and salt exactly as above.
Use clean equipment, start with pasteurized cream, and discard any batch that smells unpleasant, shows mold or looks pink or discolored. The buttermilk from cultured cream is tangy and behaves more like store-bought buttermilk in recipes.
Troubleshooting Homemade Butter
Most problems come down to temperature, fat content or patience. Here are the common ones:
- The cream is stuck at whipped cream. Keep going. This stage can last longer than you expect, especially with very cold or ultra-pasteurized cream. If nothing changes after a long while, let the bowl sit at room temperature for 10 minutes and try again.
- The cream never thickened at all. Check the label. Cream under about 30% fat, or half-and-half, will not make butter.
- The butter is soft and greasy. The cream or your kitchen was too warm. Wash the butter in very cold water, chill it for 15 minutes, then finish pressing and shaping.
- The butter tastes sour or "off" after a few days. Buttermilk was left inside. Wash longer next time, until the rinse water is nearly clear.
- The butter is pale. Color depends on the cow's diet; grass-fed cream tends to be more yellow. The flavor is still good.
How to Store Homemade Butter
Well-washed homemade butter does not keep as long as commercial butter, because it contains more moisture and no preservatives. Wrap it tightly and store it in the refrigerator, where it is best used within about one to two weeks. Salted butter tends to last a little longer than unsalted. For longer storage, wrap portions in parchment, then in freezer bags or foil, and freeze them for several months.
If you like soft, spreadable butter for the table, a water-sealed butter keeper such as the Butter Bell French ceramic crock lets you keep a small amount on the counter. Change the water every few days and keep only what you will use soon there, especially with homemade butter, which spoils faster. In a hot kitchen, the refrigerator is the safer place.
Is Making Butter at Home Worth It?
Whether homemade butter saves money depends on what you pay for cream versus butter where you live, and in many stores it costs about the same or a little more than good butter. The real rewards are elsewhere: you control the cream, the salt and the culture; you get fresh buttermilk as a bonus; and you end up with butter that tastes noticeably fresher than anything that has sat in a supermarket case.
It is also a great kitchen project for children. Use your first batch in a flaky homemade butter pie crust, spread it on warm bread, or melt it over vegetables. If you want to make a bigger or smaller batch than the recipe above, the recipe scaler will resize the cream and salt for you.
Once you know how to make butter, it stops being a novelty and becomes a simple, satisfying routine: pour, churn, rinse, salt and enjoy.
Frequently asked questions
How long does it take to make butter from heavy cream?
It depends on the method and the cream. A food processor or stand mixer often turns heavy cream into butter in roughly 5 to 15 minutes, while shaking a jar by hand can take 10 to 30 minutes. Very cold or ultra-pasteurized cream usually takes longer.
How much butter do you get from a quart of cream?
As a rough guide, heavy cream yields about half its volume in butter, so a quart (4 cups) of heavy cream typically gives around 2 cups (about 1 pound) of butter plus roughly 2 cups of buttermilk. Higher-fat cream gives more.
Can you make butter from whole milk?
Not directly. Whole milk has too little fat to churn. You first need to separate the cream, either by letting fresh non-homogenized milk sit in the fridge so the cream rises and skimming it off, or by using a cream separator. Store-bought homogenized milk will not separate.
Why won't my cream turn into butter?
The most common reasons are cream that is too low in fat (under about 30%), cream that is very cold, or simply stopping at the whipped cream stage. Check the label, let the cream warm slightly on the counter, and keep mixing past the stiff whipped cream stage until it breaks.
Do you have to wash homemade butter?
You don't have to, but you should if you want it to keep. Washing the butter in ice water removes leftover buttermilk, which otherwise sours and gives the butter an off flavor within a few days. Unwashed butter is fine if you plan to eat it the same day.
Is homemade butter healthier than store-bought butter?
Nutritionally, homemade butter is very similar to store-bought butter, since both are mostly milkfat. The main differences are freshness, flavor and control over salt and ingredients. If you have dietary concerns about saturated fat or sodium, talk with your doctor or a registered dietitian.