Polycarbonate multiwall is a favoured choice for UK homeowners and builders tackling projects like carports, conservatories, and lean-to extensions. Its layered structure provides excellent thermal insulation while remaining lightweight and shatter-resistant. However, the success of any roofing project depends entirely on the precision of the installation and the quality of the weatherproofing.
Getting the details right ensures the structure remains watertight and aesthetically pleasing for years. Poorly-fitted panels often lead to issues with condensation or wind uplift, which can be costly to rectify later. This guide will explore the essential steps to achieve a professional result for your next outdoor build.
Preparing Your Materials and Structure
Before you begin the physical installation, check that your supporting framework is ready. For multiwall sheets, the rafters should be spaced according to the thickness of the material to prevent sagging under snow loads. You should ensure the pitch of the roof is at least five degrees. This slope allows rainwater to drain effectively toward the guttering, preventing pools from forming on the surface.
When handling the panels, keep the protective film in place until the final moment. This prevents scratches during the cutting and drilling process. If you need to trim the panels to size, a fine-tooth circular saw or a jigsaw works best. Always support the sheet close to the cut to reduce vibration, as this helps you achieve a clean, professional edge without cracking the plastic.
Correct Orientation and Fixing
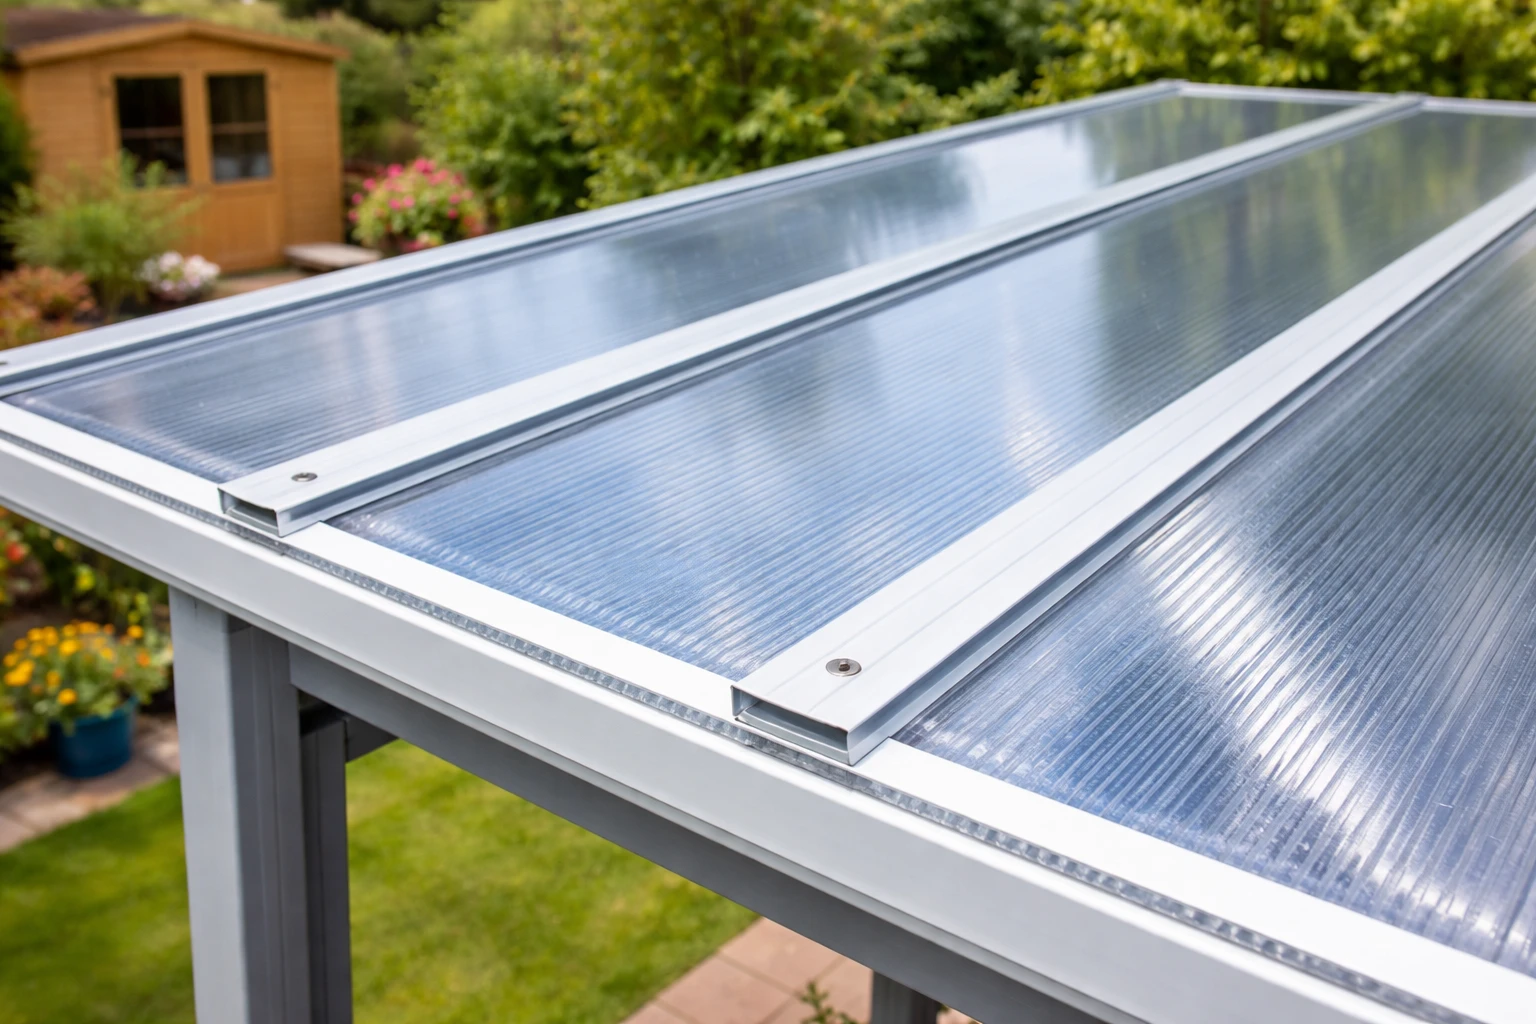
It’s vital to install the sheets with the UV-protected side facing the sky. Most manufacturers mark this side on the protective film. If you fit them upside down, the sun will cause the material to become brittle and discoloured within a few seasons. Once positioned, you will need to use compatible glazing bars to join the panels. Using a clear multiwall roofing sheet ensures maximum light transmission, making it ideal for spaces where you want to maintain a bright, airy atmosphere.
When it comes to fixing the sheets to the frame, don’t forget to account for thermal expansion. Plastic expands and contracts as temperatures change throughout the year. You should drill pilot holes for your fixings that are slightly larger than the screw shank. This extra millimetre of space allows the sheet to move without buckling or cracking under pressure.
Essential Sealing and Finishing
Moisture ingress is the primary enemy of multiwall roofing. Because the sheets are hollow, dust and condensation can enter the flutes if the ends aren’t sealed correctly. You should apply a breathable vent tape to the bottom edge of the sheet. This allows any internal moisture to escape while preventing insects or dirt from getting inside the chambers.
The top edge, which sits at the highest point of the roof, requires a different approach. You must use a solid aluminium or foil tape to create an airtight seal at the top. This prevents water from running down into the flutes from the ridge. To finish the installation, follow these steps:
- Fit a dedicated U-profile or ‘drip trim’ over the vented tape at the bottom.
- Apply a silicone sealant that’s specifically labelled as “non-corrosive” or “neutral cure”.
- Ensure all glazing bar end caps are firmly clicked into place.
- Remove the remaining protective film immediately to prevent it from bonding to the sheet in the sun.
Final Considerations
Maintenance plays a significant role in how well your roof performs over time. You should clean the surface twice a year using warm soapy water and a soft cloth. Avoid using abrasive cleaners or brushes, as these can damage the UV coating and leave unsightly marks on the clear finish.
Regularly check the seals around the flashings and glazing bars. If you notice any gaps, address them quickly to prevent leaks. By following these professional installation methods, you’ll create a durable, weather-resistant structure that stands up to the elements.
FAQs
Multiwall polycarbonate roofing is a lightweight, layered plastic material that provides insulation, durability, and high light transmission.
A minimum pitch of 5 degrees ensures proper water drainage and prevents pooling that can lead to leaks or damage.
Yes, you can use a fine-tooth circular saw or jigsaw, but you must support the sheet properly to avoid cracking or rough edges.
The UV-protected side prevents sun damage; installing it incorrectly can cause discoloration and brittleness over time.
Drill slightly oversized pilot holes so the sheets can expand and contract without cracking or warping.
Vent tape allows moisture to escape while blocking dust and insects from entering the internal flutes.
The top requires solid tape to block water ingress, while the bottom uses vent tape to allow airflow and drainage.
Use a non-corrosive or neutral cure silicone sealant to avoid damaging the polycarbonate material.
Clean it twice a year with warm soapy water and check seals regularly to maintain performance and appearance.
Improper installation can lead to condensation buildup, leaks, structural issues, and reduced lifespan of the roofing system.