If you’ve ever wondered how to baste lamb roast for maximum flavor, you’re in the right place. I still remember the first time I tried basting a leg of lamb—opening the oven, spoon in hand, the aroma of garlic-rosemary fat sizzling, and that moment when the crust glistened: that’s when I knew basting wasn’t just a technique—it was a ritual. Over the years I’ve leaned into this method more and more, because nothing gives a roast that extra lift like purposeful, thoughtful basting.
Lamb Roast Preparation
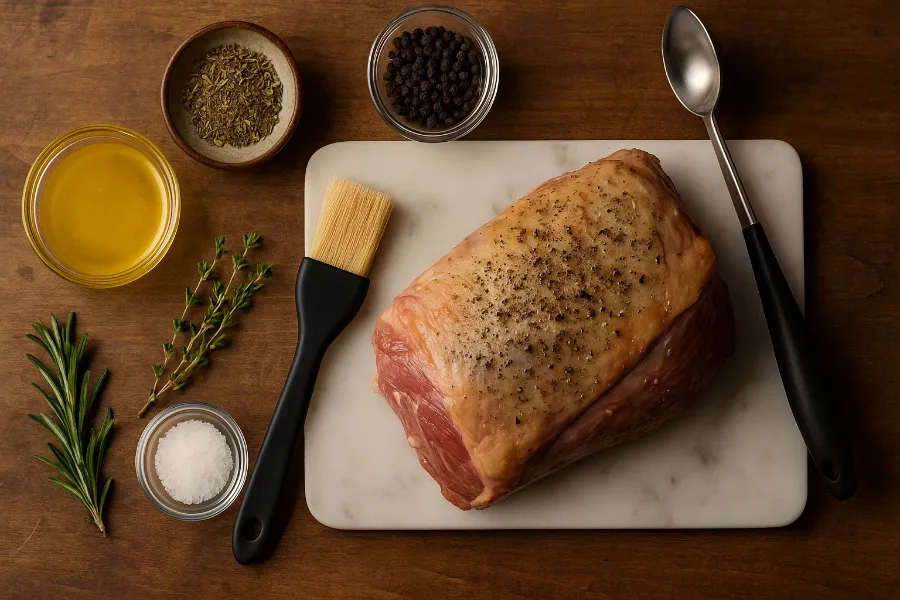
Before you get to the fun part of basting, your lamb roast preparation sets the stage. Think of it like tuning an instrument before the performance. A few simple steps early on make the rest of the process smoother and more consistent.
Start by choosing a good cut—a leg or shoulder with some internal fat is ideal. Let it rest at room temperature for about 30–45 minutes so it cooks more evenly. Pat it dry really well. Moisture on the surface will steam instead of browning. Then season generously with salt, pepper, fresh garlic, and herbs like rosemary or thyme.
Once you’ve done all that, the lamb is ready for the oven—and for you to begin your basting journey.
How to Cook Lamb Roast
Knowing how to cook lamb roast properly is key to making your basting count. If you rush the roast or keep opening the oven every few minutes, you’ll lose heat and the crust may not form. Here’s a structure I’m comfortable with and that I’ve used many times:
- Preheat your oven to a high temperature (around 450°F / 230°C) to start.
- Put the lamb in, fat-side up, and cook for about 15-20 minutes. This high heat jump-starts the crust.
- Then reduce the temperature to around 325°F / 160°C for the remainder of the cooking time.
- After about 30 minutes, you begin basting regularly (more on that in a minute).
- In the last 10 minutes, you can turn up the heat or broil briefly so your basting gives that final beautiful gloss.
The key is balance: high enough heat to activate the crust, low and steady for internal doneness, and timely basting to keep everything moist and flavorful.
Lamb Cooking: Why Basting Matters
When you dive into lamb cooking, you’re dealing with meat that has character and complexity—rich flavour, some game-notes, full of potential. Basting becomes one of the most effective ways to bring that potential out.
Here’s why basting changes the game:
- It keeps the surface moist and prevents the outer fibers from drying out before the middle is cooked.
- It layers flavour, spoon-by-spoon, so each pass rebuilds aroma and richness.
- It helps the crust brown beautifully (hello Maillard reaction) because the fat and juices on top encourage even browning rather than burning.
- It gives you control: you decide when and how often to baste, which means you’re actively engaged in the flavour process—not just letting the roast sit and hope.
In short, basting turns cooking into craft.
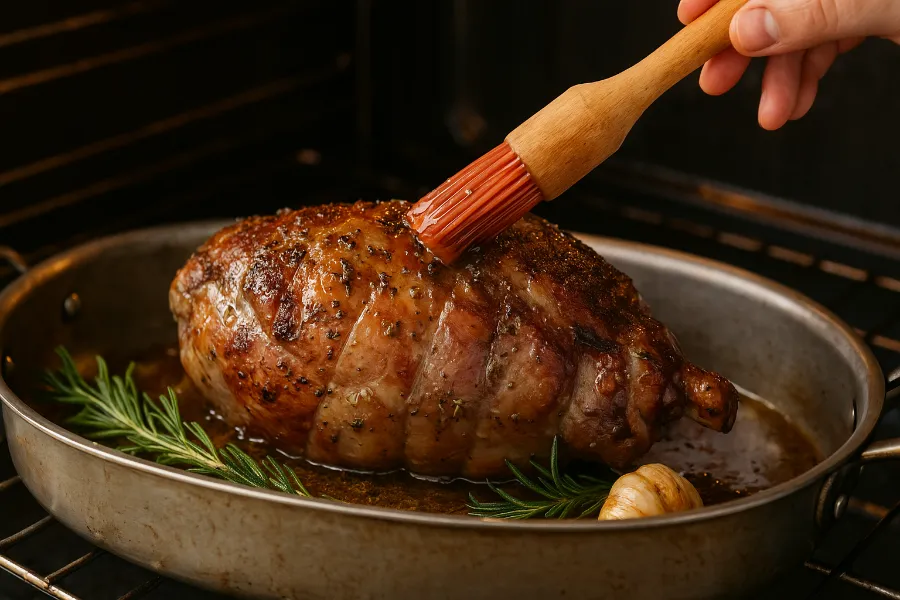
Basting Brush: The Tool That Makes a Difference
Now let’s talk about the real workhorse in your kitchen: the basting brush. If you’ve only ever ladled drippings over your meat, you’re missing out on the precision a brush gives.
Using a basting brush allows you to apply flavour more gently and evenly. You don’t slam a pool of juice over the lamb; you stroke it on, you “paint” it with fat and aromatics. Here are my top tips:
- Use a silicone or heat-resistant brush (no old wooden bristles that might shed or char).
- Dip the brush in a container of your basting liquid (more on liquids below), then gently sweep the meat—especially the top and sides, where the fat can run off.
- Don’t over-soak the meat; too much liquid washes away the crust. A light, even coating is better than a heavy splash.
- Clean the brush between uses (if you’re dipping into the same liquid repeatedly) so you aren’t dragging burnt bits or herbs back onto the roast.
When you start to use a basting brush confidently, you realize how much more control you have—and how much better your crust and flavour become.
Clarified Butter: The Secret Weapon
If I were to pick one ingredient that elevated my lamb roasts more than any other, it would be clarified butter. The reason is simple: it gives you the richness of butter without the risk of burning at high temperatures.
Clarified butter (or ghee) is traditional butter with the milk solids removed. That means:
- A higher smoke point (so you can use it later in the roast without burning).
- A purer, cleaner buttery flavour that doesn’t include the milk-or-burnt-solid taste.
- Beautiful browning and gloss when used for basting.
Here’s what I do: I melt a stick (or two) of unsalted butter slowly until the solids separate, skim off the foam, pour off the clear golden fat. That becomes my basting fat base. From there I often mix in fresh herbs (rosemary, thyme), crushed garlic, even a splash of lemon juice or wine.
When I use clarified butter in my basting, that layer of richness shows up in every bite: the crust glows, the flavour hits deep, and the lamb tastes intentionally luxurious.
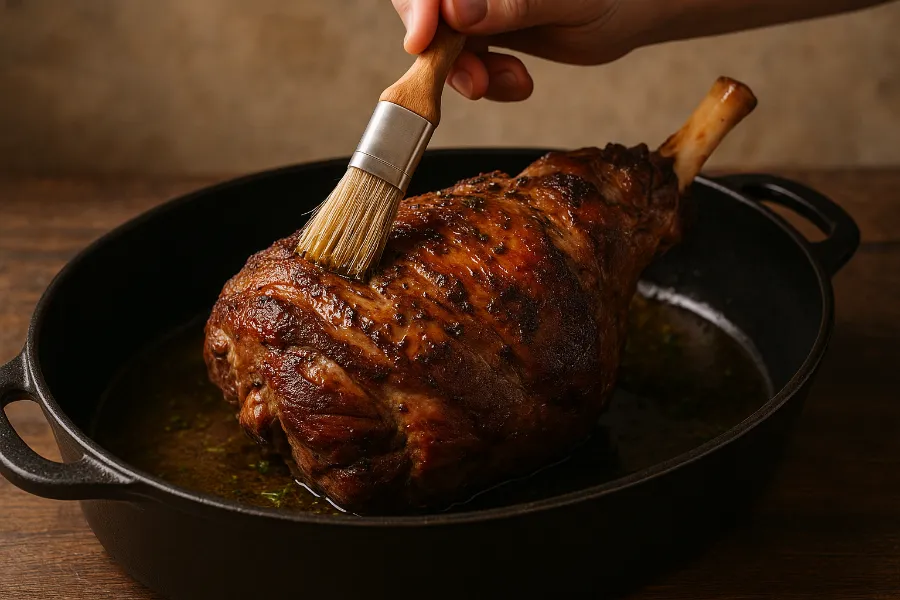
How to Baste Lamb Roast for Maximum Flavor
Alright, let’s pull together the technique: how to baste lamb roast for maximum flavor.
Step-by-step:
- After your initial high-heat phase and once the crust has formed (about 20-30 minutes in), prepare your basting liquid: clarified butter + drippings + herbs + a little acid (lemon, vinegar or wine).
- With your basting brush (or ladle if you prefer), coat the top and sides of the lamb.
- Every 20–25 minutes, open your oven, quickly paint the roast with that mixture, and shut the door.
- In the final 10 minutes, crank the heat up (or use broil) and do one final coat to get a glossy, caramelized finish.
- When done, let your lamb rest for at least 15 minutes. That resting time allows juices to redistribute and the flavours you’ve layered to settle in.
Pro tips:
- Keep your movement swift to avoid letting oven temperature drop too far.
- Use a roasting rack so the fat and drippings don’t pool and burn under the lamb (which would taint flavour).
- If your drippings darken too much (getting burnt), refresh with a splash of broth or wine before you baste next.
- You’re aiming for flavour layering—not drowning the meat in liquid.
Follow this process, and you’ll find that the crust on your lamb isn’t just a skin—it’s a flavour membrane, built layer upon layer, catching every herb, every garlic hint, every buttery drop.
Home-Cook vs. Pro Chef: Advantages & Disadvantages
There are two main “schools” of basting: the home-cook, intuitive style, and the professional chef, high-precision style. Both work, but they have different rhythms and trade-offs.
Home-Cook Approach
Advantages:
- Flexibility: You can smell and adjust as you go, add herbs mid-roast, experiment on the fly.
- Comfort: It’s relaxed, personal—your kitchen, your pace.
- Connection: There’s something deeply satisfying about basting by hand, spooning flavour on.
Disadvantages:
- Inconsistency: If you forget a baste interval or open the oven too often, you might lose some heat or end up with uneven crust.
- Timing risk: Without tools or timers, you might open the oven too much, causing temperature swings.
- Over-basting: Without discipline, you might wash away the crust you’ve built or end up with soggy top layers.
Pro Chef Approach
Advantages:
- Precision: Chefs know exactly when to baste, how much fat to use, when to finish with gloss.
- Consistency: Every roast is reproducible—they’ve honed the timing, the tools, the rhythm.
- Elevation: Because of tools like clarified butter, probe temps, timers, they elevate the roast to “restaurant” level.
Disadvantages:
- Less flexibility: There’s often less room for improvisation or “what if I try this” mid-roast.
- Discipline required: Missing a step or interval can have more dramatic consequences because everything is staged.
- Tools and attention: The more “professional” you go, the more gear and monitoring you need (thermometer, timer, controlled oven, etc.).
In the end, whether you’re home-cooking for Sunday dinner or working in a kitchen with dozens of plates, the goal is the same: a lamb roast basted to maximum flavour. The path is just slightly different.
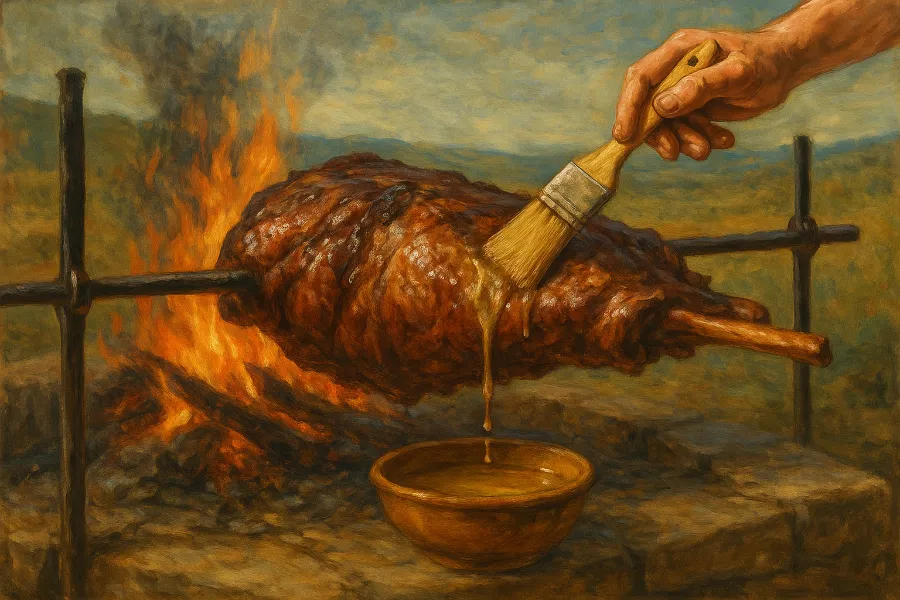
The Ancient Practice of Basting
Let’s wander back a little into the history of basting—because it’s more than a fancy term in cooking books; it’s a practice rooted in tradition.
From open-fire spit roasts in ancient times, cooks noticed that meat left to dry out lost flavour and juiciness. So they would scoop up rendered fat and juices and pour them over the meat as it cooked. Over time, this turned into an art: adding herbs, wine, even sweet liquids like honey; basting not just to keep meat moist, but to build flavour.
In medieval European kitchens, lamb and game were basted with herb-fat mixtures, and even later, with ales or wine. In Middle Eastern and Mediterranean traditions, olive oil, yogurt, spices were used to baste lamb roasting over coals. The method changed with regional ingredients, but the principle stayed constant: re-coating meat during roasting enhances flavour and texture.
Today, even with our modern ovens and probes and sous-vide machines, basting remains one of the most effective ways to build flavour from the outside in.
Some Final Thoughts and Reflections
I’ve cooked many lamb roasts in my kitchen—some perfect, some “lessons learned”. Yet the ones I go back to again and again are those where I took a moment every 20-25 minutes, opened the oven, brushed on fat + herb liquid, and let the roast respond.
Here are a few reflections:
- The act of basting slows the roast down in the best way—it forces you to pay attention, to smell the garlic, to watch the crust change.
- The crust you build through basting isn’t just visual; it’s flavour deep. Each time you baste you’re layering on the aroma and richness until that first slice hits your plate and you hear the glaze crack.
- Resting still matters. After all that basting, don’t rush to carve. Let the lamb sit for 15–20 minutes so the juices settle and the flavours you’ve layered can “lock in”.
- Don’t be scared to experiment with your basting liquids. Use your own favourite herbs, incorporate regional preferences (mint, pomegranate, cumin)—just keep the rhythm of basting consistent.
Your Next Roast: Make It Count
The next time you prepare lamb, I invite you to treat the roast not just as meat, but as a canvas. Your tools? Basting brush in one hand, clarified butter in the other, herbs and garlic at the ready. Your mission? To discover exactly how to baste lamb roast for maximum flavor.
Bring all those elements together—the careful preparation, the cooking timing, the basting intervals, the rich fats, the herb aromatics—and you’ll end up not just with dinner, but with a moment of home-cooked magic.
Go ahead: fire up your oven, brush on that first coat, and let the scent of garlic-rosemary fat fill your kitchen. Because when done right, basting isn’t just a method—it’s a celebration on the plate.
FAQs
Basting keeps the lamb moist, enhances flavor, and helps build a golden, caramelized crust. Each layer of fat and juices deepens the taste and texture.
Baste every 20–25 minutes once the crust starts to form. This timing allows consistent flavor layering without lowering your oven temperature too much.
Yes! Olive oil works beautifully, especially in Mediterranean-style lamb roasts. For richer results, combine it with clarified butter or pan drippings.
Clarified butter (or ghee) is butter with the milk solids removed. It resists burning, browns evenly, and gives a clean, nutty flavor to your roast.
A spoon works fine, but a basting brush offers better control and even coverage. It helps distribute fat and juices gently without washing away the crust.
Start basting after the first 30 minutes, once the crust forms. Continue regularly until the final 10 minutes, when a quick high-heat baste gives a glossy finish.
Mix clarified butter or olive oil with pan drippings, herbs, garlic, and a splash of lemon or wine. This combination creates layers of savory, aromatic flavor.