If you’re reading this, you’ve probably asked yourself: how do I keep everything in my sourdough life thriving? Today we’re diving deep into sourdough storage because whether you’re managing your sourdough starter, experimenting with sourdough baking, or figuring out how to store sourdough discard, the way you store your dough ecosystem will shape your results. I’ll share what I’ve learned over years of baking (and occasionally reviving nearly-dead starters) about keeping your cultures alive, flavorful, and always ready to rise.
Sourdough Starter
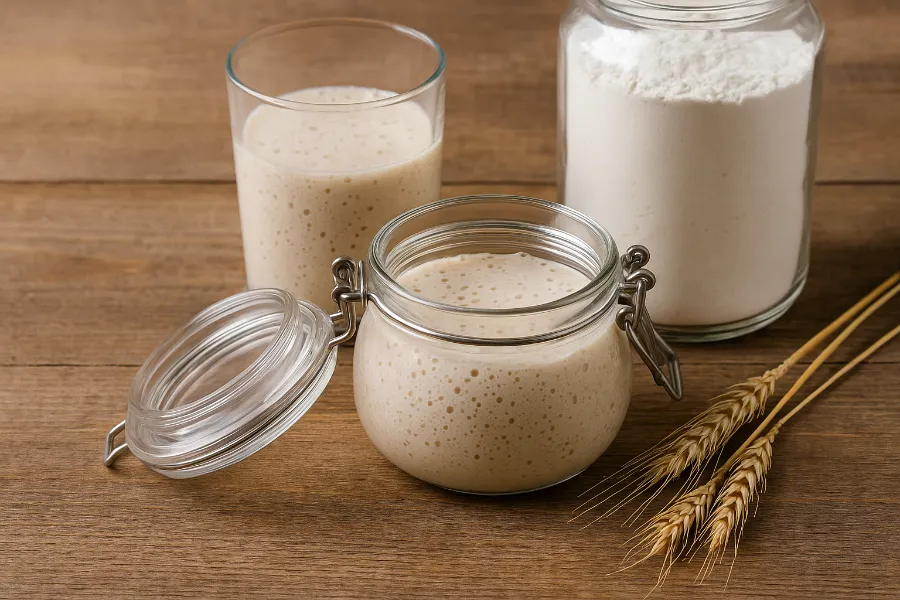
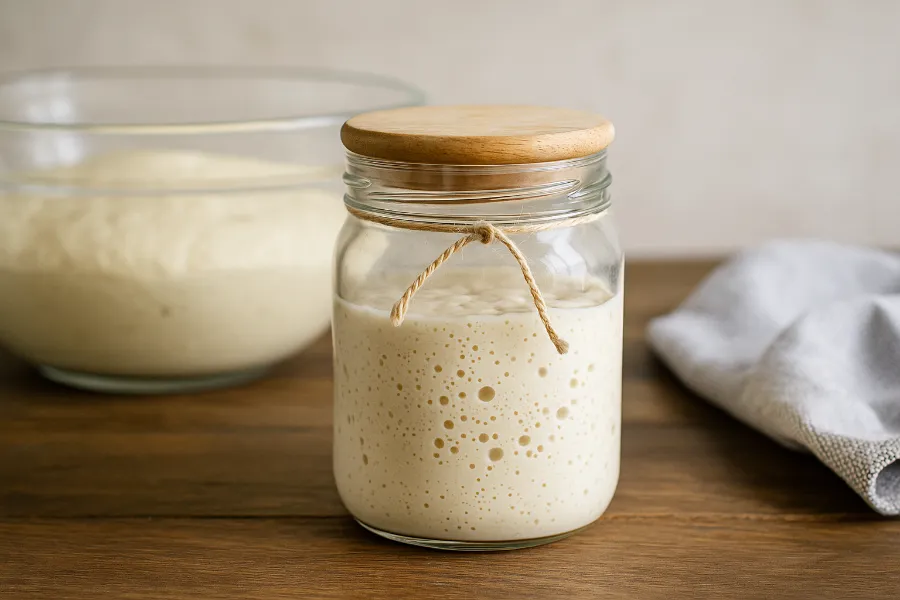
When I first started my sourdough journey, I treated my starter like a small pet — one that lived in a jar and demanded flour twice a day. In many ways, that’s exactly what it is. A sourdough starter is a living culture of wild yeast and lactic acid bacteria. How you store it determines whether it thrives or fizzles.
Why storage matters for your starter
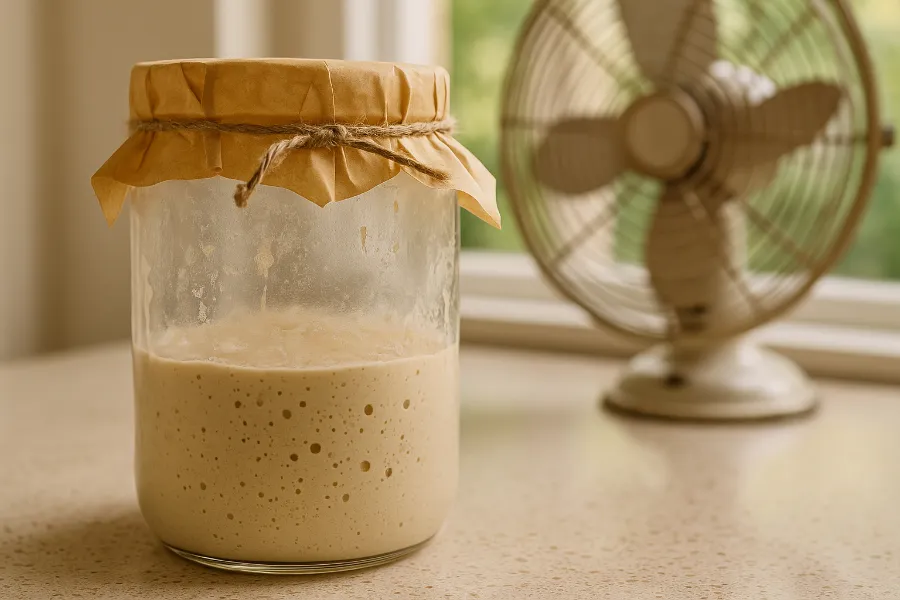
Whether you keep your starter on the counter or in the fridge, what you’re really doing is controlling its rhythm of life. At room temperature, it’s in “go mode” fermenting fast, bubbling happily, and needing regular meals. In the fridge, it slows down and enters hibernation, perfect for less frequent baking.
My go-to setup
- If I bake several times a week, my starter lives on the counter in a loosely covered glass jar and gets fed once or twice daily.
- If I bake weekly, I feed it, let it rest a bit, and then store it in the refrigerator. It only needs feeding every 7–10 days.
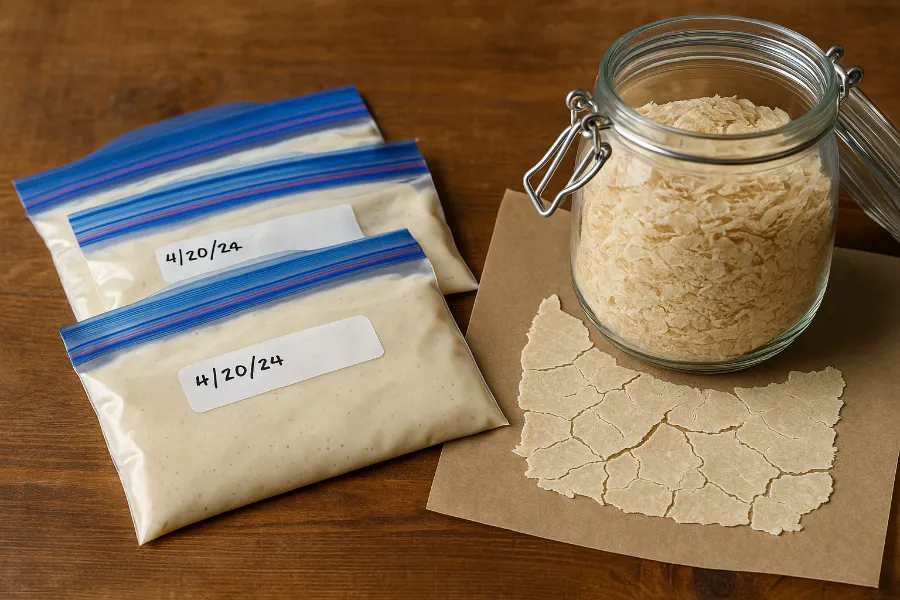
- When I take a break from baking for weeks or months, I freeze or dry part of my starter so I always have a backup.
The secret to keeping a happy starter is consistency. Temperature swings, contamination, or neglect can upset the balance. But when stored well, your starter can outlive you — seriously.
Sourdough Baking
All good sourdough baking starts with good storage. A healthy, well-fed starter will make your loaves rise predictably, taste amazing, and look beautiful. A neglected one… not so much.
The link between storage and baking
If your starter is weak from poor storage, your dough won’t rise properly or will taste off. If it’s stored well and fed regularly, it becomes a reliable baking partner.
My baking rhythm
When I’m baking often, I feed my starter in the morning and bake in the evening. On slower weeks, I’ll take it out of the fridge the day before baking, feed it two or three times at room temperature, and then use it once it’s active and bubbly again.
Your storage habits directly shape your baking rhythm. Once you understand how to slow your starter down (in the fridge) or wake it up (at room temp), your sourdough process becomes flexible instead of stressful.
Sourdough Recipes
Let’s talk about what happens after all that feeding: sourdough discard. Every feeding leaves you with extra starter that you remove to keep ratios balanced. Instead of wasting it, I turn mine into easy, flavorful sourdough recipes.
My favorite ways to use discard
- Pancakes or waffles – fluffy, tangy, and quick.
- Crackers – mix discard with olive oil, salt, and herbs, roll thin, and bake.
- Brownies or chocolate cake – adds a subtle depth of flavor.
- Pizza dough – a little discard adds chewiness and character.
The key to using discard successfully is storing it correctly so it’s always on hand.
How to Store Sourdough Discard
If you’re wondering how to store sourdough discard, you’re not alone. Most bakers struggle with what to do with the constant overflow. Discard isn’t bad it’s simply unfed starter that’s run out of food. Stored properly, it can last weeks or even months.
Short-term storage
Keep your discard in a clean jar in the refrigerator. It will continue to ferment slowly, developing a deeper, tangier flavor. Use it within 1–2 weeks for the best taste.
Long-term storage
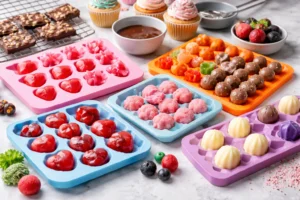
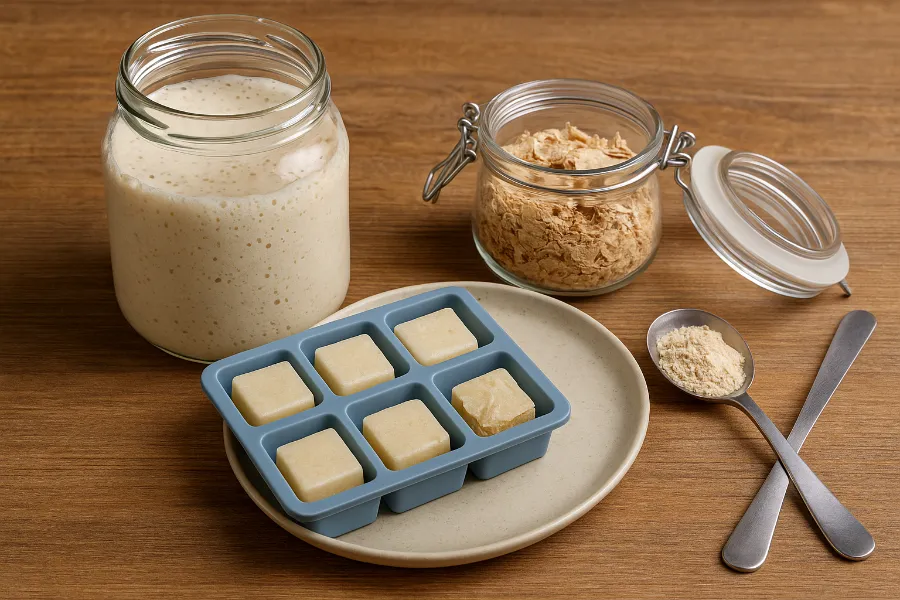
If you don’t plan to use it soon, freeze it in small portions (½ cup or 1 cup). Label each bag or container with the date and flour type. When you’re ready to use it, thaw overnight in the fridge and stir before adding to your recipe.
Another option is to dry it: spread discard thinly on parchment paper, let it air-dry or use a dehydrator, then store the flakes in an airtight jar. You can rehydrate later for flavoring or as a backup starter.
With these habits, your discard becomes a versatile ingredient instead of a waste product.
How to Keep Sourdough Starter Alive
If you’re serious about your baking, learning how to keep sourdough starter alive is crucial. Think of your starter like a pet that feeds on flour instead of kibble.
Tips for a thriving starter
- Use clean utensils and jars to avoid contamination.
- Feed on a consistent schedule: daily if at room temperature, weekly if refrigerated.
- Use filtered or dechlorinated water.
- When in doubt, feed more often.
The comeback story
A few months ago, I returned from vacation to find my starter covered with a thin layer of grayish liquid (called “hooch”). I stirred it in, gave it two feedings at room temperature, and within a day, it was back to life. These cultures are resilient when stored properly.
If you’re ever unsure, give your starter a few warm, consistent feedings and it will usually bounce back.
Sourdough Discard
Let’s circle back to sourdough discard, because it deserves more love than it gets. This part of sourdough storage is where sustainability meets creativity.
Why discard matters
- It’s full of flavor even without much leavening power.
- It helps you reduce waste — a core value in sourdough culture.
- It’s your gateway to new recipes beyond bread.
My discard routine
Whenever I feed my starter, I save the discard in a jar labeled “This Week.” If I haven’t used it by the end of the week, it goes to the freezer. I also keep a few frozen pouches labeled by flour type whole wheat, rye, or all-purpose because they each bring a unique flavor to future recipes.
Good discard management means nothing ever goes to waste, and I always have a flavor booster ready for my next bake.
Why Proper Sourdough Storage Matters
I’ve learned that sourdough storage isn’t just about keeping things alive it’s about creating rhythm and freedom in your baking life. Once you know how to slow things down or revive them, you’re no longer ruled by the starter’s schedule.
A few truths I’ve learned
- A well-stored starter makes baking easier, not harder.
- Discard is a resource, not waste.
- The right container and temperature make all the difference.
- Healthy storage habits = consistent results and better flavor.
When you view storage as part of your baking process, it becomes second nature.
My Favorite Sourdough Storage Hacks
Here are some tricks that have made my life (and baking days) smoother:
- Use wide-mouth glass jars so you can easily stir and monitor growth.
- Freeze discard in flat freezer bags — they stack neatly and thaw quickly.
- Dry discard on silicone mats; once brittle, break it into flakes for backup.
- Label everything with the date and flour type.
- Keep a small jar of dried starter as an emergency backup.
- Add “discard recipes” to your weekly rotation so nothing gets wasted.
These little habits turn sourdough maintenance into an easy rhythm rather than a chore.
Sourdough Storage for Every Lifestyle
Not everyone bakes every day, and that’s okay. The beauty of sourdough is that it adapts to your life.
| Baking Frequency | Ideal Storage | Feeding Schedule |
|---|---|---|
| Daily | Room temperature | Once or twice daily |
| Weekly | Refrigeration | Every 5–7 days |
| Monthly | Freezing or drying | Feed before storage |
| Seasonal | Dried backup | Rehydrate when ready |
With these options, you can always find a balance between effort and freshness.
Troubleshooting Common Storage Problems
Even the most careful bakers occasionally hit bumps. Here’s how to fix the most common sourdough storage issues:
- Hooch (grayish liquid): It’s a sign your starter is hungry. Stir it in or pour it off, then feed.
- Mold: Fuzzy white, pink, or orange growth means it’s contaminated. Discard and start fresh.
- Weak rise: Feed more frequently and store in a warmer spot until it perks up.
- Strong alcohol smell: Another sign of hunger; regular feeding will correct it.
Most problems are reversible if you act early. Consistent care keeps your starter vibrant for years.
Seasonal Sourdough Storage
Seasons affect your starter more than you might think.
- Summer: Heat speeds fermentation — store in the fridge if you can’t feed often.
- Winter: Cold slows it down — leave it on the counter longer after feeding to keep it active.
- Humid climates: Use breathable lids to prevent condensation and mold.
- Dry climates: Loosely cover your jars to keep moisture in.
Understanding your local environment helps you make subtle adjustments that keep your sourdough thriving year-round.
Final Thoughts: Your Sourdough Storage Journey
If there’s one thing I’ve learned, it’s that sourdough doesn’t just teach you baking — it teaches patience, rhythm, and care. Sourdough storage is part of that lesson.
When you know how to nurture your sourdough starter, keep up with your sourdough baking, create smart sourdough recipes, master how to store sourdough discard, and learn how to keep sourdough starter alive, you’re not just making bread you’re preserving a living tradition.
Treat your starter with consistency and curiosity. Save your discard with creativity. And above all, enjoy the process — because every jar of bubbly starter on the counter or tucked in the fridge is a small miracle of science and craft waiting to rise again.
FAQs
The best way depends on how often you bake. Keep it at room temperature for daily use, or refrigerate it and feed weekly if you bake less often.
Keep discard in a sealed jar in the fridge for up to two weeks, or freeze it in labeled portions for longer storage. It’s perfect for pancakes, crackers, and brownies.
Yes. Feed your starter, let it peak, then freeze it in a clean container. Thaw and feed twice before baking to revive it.
If you see mold, strange colors, or a foul odor, it’s best to discard it. A healthy starter smells pleasantly tangy, not rotten.
The starter is active and used for rising dough, while discard is unfed starter removed during feedings. Discard adds flavor but little leavening power.
Feed it consistently, use clean tools, and store it at the right temperature. You can also dry or freeze a portion as a backup.
That’s “hooch,” a sign your starter is hungry. Stir it in or pour it off, then feed your starter to refresh it.