If you’ve ever roasted a chicken that looked magazine-worthy on the outside but turned out dry on the inside, you know the heartbreak. That’s exactly why I became slightly obsessed with how long to brine a chicken before roasting. Over the years, I’ve tested every method imaginable—from classic wet brines to modern dry brines—and discovered what truly delivers that tender, juicy meat with crisp, golden skin.
In this post, I’ll walk you through my personal methods, timing chart, and favorite flavor twists using herbs and spices, buttermilk brines, citrus infusions, and the right brine ratio—so your next roast chicken looks and tastes like it came straight from a professional kitchen.
Chicken Brine: The Foundation of Juicy Roast Chicken
A chicken brine is one of the simplest and most reliable techniques you can do before roasting. It’s basically a saltwater solution that helps the meat absorb both moisture and seasoning deep into every bite.
Here’s my go-to classic chicken brine recipe:
- 1 gallon cold water
- ¾ cup kosher salt
- ½ cup sugar (optional but helps browning)
- 3 to 4 cloves garlic, crushed
- 2 bay leaves, a few peppercorns, and some lemon peel
Dissolve the salt and sugar completely before adding the chicken. Then refrigerate and let time do its magic. For a 4–5-pound bird, 8 to 12 hours is ideal.
The result? A chicken that’s evenly seasoned, tender, and ready to roast to juicy perfection.
Brined Chicken Results: What to Expect After a Proper Brine
When you taste a properly brined chicken, you’ll immediately notice the difference. The meat is juicy, flavorful, and evenly seasoned.
The science behind this is simple: the salt in the brine restructures the chicken’s protein fibers, allowing them to retain more water during cooking. That means fewer dry bites and richer drippings.
After brining, always rinse the chicken lightly (if using a wet brine), pat it completely dry, and let it rest uncovered in the refrigerator for a few hours. That final drying step helps ensure the skin crisps beautifully once the bird hits the oven.
Chicken Marinade vs. Chicken Brine: Which One Wins for Roasting?
It’s easy to confuse a chicken marinade with a brine, but they’re not the same thing. A marinade relies on acid and oil (like lemon juice and olive oil) to coat the surface of the chicken. A brine uses salt and sometimes sugar to actually penetrate the meat.
If you want deep flavor and moisture, a brine always wins. But if you want to add extra aroma and brightness, you can combine the two—brine first for moisture, then do a short, aromatic marinade before roasting. That’s my favorite combination when I want to impress guests.
Using Herbs and Spices to Elevate Your Chicken Brine
No great chicken brine is complete without the right herbs and spices. They’re the secret to building layers of aroma and flavor that last through roasting.
Some of my favorite combinations:
- Rustic Mediterranean: Thyme, rosemary, bay leaves, garlic, and black pepper
- Citrus Garden: Orange zest, lemon zest, parsley, and coriander seed
- Smoky and Bold: Smoked paprika, onion powder, and crushed peppercorns
A quick pro tip: toast your whole spices briefly in a dry pan before adding them to your brine. It releases their essential oils and intensifies the flavor dramatically.
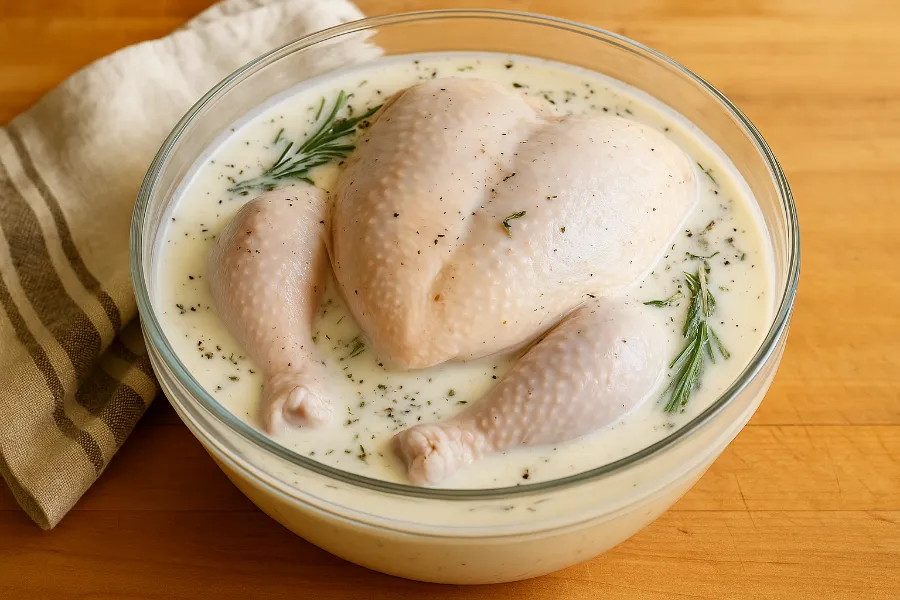
Buttermilk Chicken Brine: Southern Comfort for Tender Meat
If I had to name the coziest, most foolproof method for a tender roast, it’s the buttermilk chicken brine. The natural acidity of buttermilk gently breaks down proteins, while its milk solids help the skin brown to perfection.
Here’s my go-to buttermilk brine recipe:
- 1 quart buttermilk
- ¼ cup kosher salt
- 1 tablespoon sugar
- 1 teaspoon paprika or chili powder (optional)
Submerge the chicken, refrigerate for 8 to 12 hours, then rinse lightly and pat dry before roasting.
The result is meat so tender and juicy it practically melts in your mouth, with a subtle tang that adds depth and character. If you’ve ever made Southern-style fried chicken, this method will feel like home.
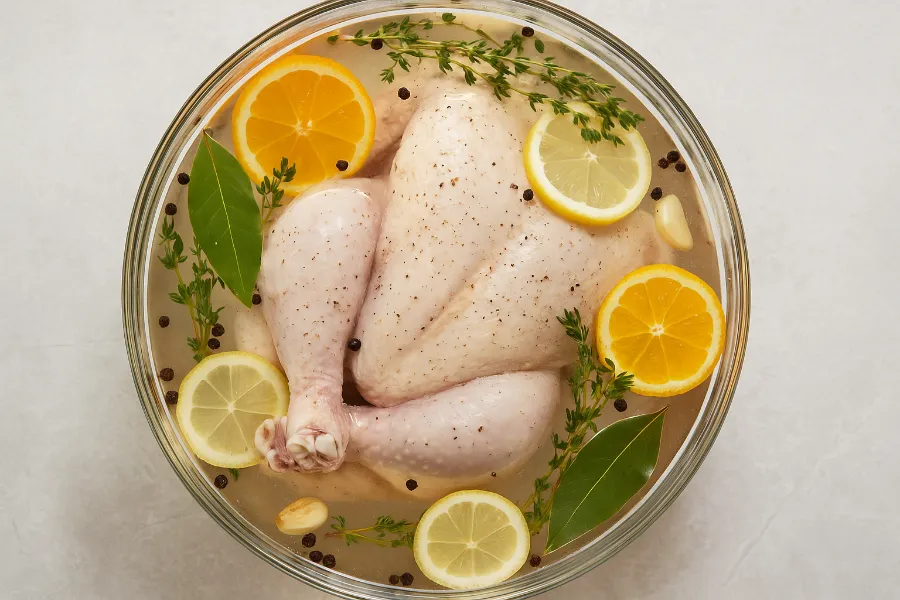
Citrus Chicken Brine: A Bright and Refreshing Twist
When I want something lighter and more aromatic, I use a citrus chicken brine. Lemon and orange add brightness while balancing the savoriness of the meat.
Here’s how I make it:
- ½ gallon cold water
- ½ cup kosher salt
- Juice and zest of 2 lemons and 1 orange
- A few sprigs of rosemary and thyme
- 3 cloves crushed garlic
Because of the acid, limit this brine to 6 to 8 hours max—otherwise, the acidity can start “cooking” the meat like ceviche.
This method gives you a roast chicken that’s vibrant, fragrant, and perfect for spring or summer dinners.
Brine Ratio: Getting the Perfect Salt Balance
Your brine ratio determines whether your chicken turns out perfectly seasoned or overly salty. The ideal base is ¾ cup kosher salt per gallon of water.
If you’re short on time and brining for only a few hours, you can increase it to 1 cup of salt. For longer brines (15–18 hours), reduce the salt to ½ cup.
Also remember:
- Morton kosher salt is denser.
- Diamond Crystal is lighter.
So if you switch between brands, always adjust accordingly. Taste your brine—it should taste like gently salted seawater, not like you’ve taken a gulp of the ocean.
Juicy Roast Chicken: Why Brining Changes Everything
Brining is my ultimate insurance policy for juicy roast chicken. It locks in flavor, ensures tenderness, and even gives you better pan drippings for gravy or sauce.
After brining, I always let the chicken rest uncovered in the refrigerator for 6 to 12 hours. That step allows moisture to redistribute inside the meat and dries out the skin for maximum crispness.
When I roast, I start at 425°F for 20 minutes to kickstart browning, then reduce to 375°F until the internal temperature reaches 165°F. This method gives you golden, juicy meat every single time.
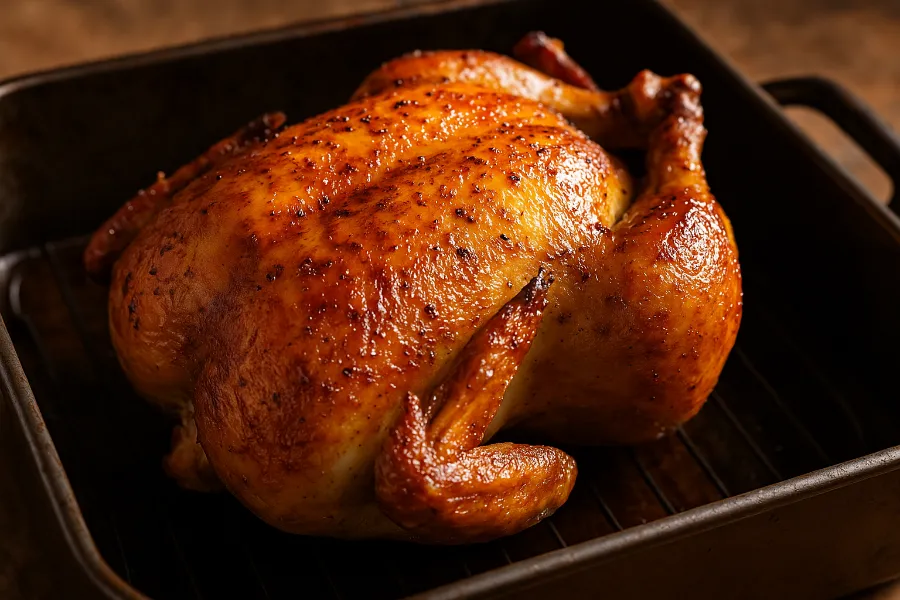
Golden Chicken: The Art of Perfectly Browned Skin
There’s something undeniably beautiful about pulling a golden chicken from the oven. That color isn’t just luck—it’s science and patience.
Here’s what I do to achieve that perfect golden-brown finish:
- Brush the bird with melted butter or olive oil before roasting.
- Don’t crowd the pan—airflow is key for even browning.
- Let the chicken sit uncovered before cooking to dry the skin.
- Add a pinch of sugar or honey to your brine for enhanced caramelization.
A crisp, golden exterior is the natural reward for a well-timed brine and a patient roast.
Flavorful Chicken: Seasoning from the Inside Out
The beauty of brining is that you’re not just seasoning the outside—you’re creating flavorful chicken from the inside out.
I like to finish my roast chicken with a quick glaze made from:
- Melted butter
- Chopped parsley or thyme
- Fresh lemon juice
- A touch of pan drippings
This final step adds brightness and gloss to the already rich flavor that the brine created.
Crispy Chicken Skin: The Perfect Finishing Touch
We all know that crispy chicken skin is the best part of a roast. Getting it right comes down to drying and air circulation.
Here’s how I do it:
- After brining, pat the chicken dry and let it sit uncovered in the fridge.
- Roast the chicken on a rack for airflow underneath.
- Try adding ½ teaspoon baking powder to your dry rub—it enhances crisping by changing the skin’s pH.
Avoid basting with watery drippings during cooking; if you want to baste, use butter or oil only. That’s how you get skin that shatters at the touch of a knife.
How Long to Brine a Chicken Before Roasting (Timing Chart)
This is the question I get most often—and it’s the heart of this entire post.
Here’s a quick guide to how long to brine a chicken before roasting, based on weight and method:
| Chicken Size | Wet Brine | Dry Brine | Buttermilk or Citrus |
|---|---|---|---|
| 2–3 lbs | 3–4 hours | 8–12 hours | 6–8 hours |
| 4–5 lbs | 8–12 hours | 24 hours | 8–10 hours |
| 6–7 lbs | 12–18 hours | 36 hours | 10–12 hours |
As a general rule: brine 1 hour per pound (for wet brines) or one full day (for dry brines). Avoid going over 24 hours with wet brines to prevent the texture from becoming too soft.
Traditional Ways of Brining Chicken: Time-Tested and Simple
Before refrigeration, brining wasn’t a “culinary technique”—it was a necessity. My grandmother used to brine chickens in ceramic crocks filled with coarse sea salt, bay leaves, and garlic. The birds would rest overnight in a cool cellar, soaking up flavor the old-fashioned way.
These traditional ways of brining chicken still deliver unbeatable flavor. If you have a food-safe bucket or stoneware crock, try it. Use coarse sea salt, fresh herbs, and patience. The flavor is rustic, clean, and deeply satisfying.
My Personal Brining Routine and Lessons Learned
After dozens of roast chickens, here’s what I’ve learned through trial and error:
- Short brines don’t penetrate enough flavor.
- Over-brining makes the meat rubbery.
- Dry-brining is more forgiving than wet.
- Resting after brining is crucial.
- Buttermilk is the most foolproof method for beginners.
One time I accidentally left a chicken in wet brine for 24 hours—it turned out overly salty, even after rinsing. Now, I always set a timer and stick to the plan. The difference is night and day.
Final Thoughts: Your Roadmap to the Perfect Roast Chicken
If you’ve been wondering exactly how long to brine a chicken before roasting, here’s my personal summary:
- Wet brine: 8–12 hours
- Dry brine: 24 hours
- Buttermilk or citrus brine: 6–10 hours
- Always rest and dry before roasting
- Roast hot first, then finish low for golden skin
Brining takes a little planning, but the payoff is undeniable. Every slice will be juicy, tender, and full of flavor. Once you get used to it, you’ll never skip the step again.
FAQs
For best results, brine a whole chicken for 8–12 hours in a wet brine or up to 24 hours with a dry brine. This allows the salt and flavor to fully penetrate the meat.
Yes. Over-brining can make the meat overly salty or mushy. Avoid going beyond 18–24 hours for wet brines or 36 hours for dry brines.
If you used a wet brine, a quick rinse removes excess surface salt. Always pat the chicken completely dry afterward to help the skin crisp during roasting.
A wet brine uses saltwater to soak the chicken, while a dry brine uses salt rubbed directly onto the skin. Both add flavor, but dry brine yields crispier skin.
You can, but it takes longer. As the chicken thaws in the brine, it absorbs the seasoning—just extend your brining time by 25–30%.
Use about ¾ cup kosher salt per gallon of water. Taste the brine—it should be pleasantly salty, like mild seawater, not overpowering.
Yes. Always keep the chicken refrigerated (below 40°F) during brining for safety. Never leave raw poultry at room temperature for extended periods.