There’s something magical about pulling a golden, crusty loaf out of the oven and hearing that little crackle as it cools. When I first started baking bread at home, I was nervous. Would it rise? Would it taste like cardboard? Over time, I realized that the right bread flour recipe is the secret to creating bread that feels—and tastes—like it came straight out of a rustic bakery. Today, I’m sharing my tried-and-true recipe, plus all the little tips and variations I’ve learned along the way.
Why I Love Baking Bread in Dutch Oven
If you’re new to bread baking, let me tell you—making bread in Dutch oven is life-changing. That heavy pot does all the hard work for you. It traps steam, giving you that irresistible crisp crust while keeping the inside soft and chewy. Honestly, when I discovered this trick, it felt like a bakery-level hack for home bakers.
I’ve used this method for years now, and whether I’m making a quick weeknight loaf or something special for guests, the Dutch oven always delivers. It’s basically my bread-baking best friend.
A Simple Artisan Bread That Anyone Can Master
People often think you need fancy equipment or years of practice to bake artisan bread. Not true! This simple artisan bread recipe is proof. With just a few ingredients—flour, water, yeast, salt—you can create a loaf that looks like it belongs on the cover of a cookbook.
What I love about this recipe is how forgiving it is. Even if your shaping isn’t perfect, it still comes out beautifully rustic. And if you’re short on time, you can mix it up, let it rise, and bake it all in just a couple of hours.
Rustic Bread Recipe Ingredients
Let’s talk about what goes into a great rustic bread recipe. The ingredient list is short, but every piece matters:
- 4 to 4 ½ cups bread flour (for that perfect chewy crumb)
- 2 cups warm water (around 110°F works best)
- 2 tablespoons yeast (instant or active dry, both work)
- 2 tablespoons sugar (or honey for a hint of sweetness)
- 1 ½ tablespoons salt
That’s it! I’m not kidding when I say this is a recipe anyone can pull off. And once you’ve tried it, you’ll see why I call it my everyday rustic bread.
Homemade Artisan Bread Step by Step
There’s something almost meditative about the process of making homemade artisan bread. It forces you to slow down, get your hands in the dough, and enjoy the transformation from simple ingredients to a loaf of pure comfort. Here’s how I do it:
- Mix yeast and water. Stir warm water, sugar, and yeast together until foamy.
- Add flour and salt. Slowly mix in your dry ingredients until a dough forms.
- Knead. About 6–8 minutes with a stand mixer or 8–10 by hand.
- First rise. Cover and let it double in size. This usually takes about an hour.
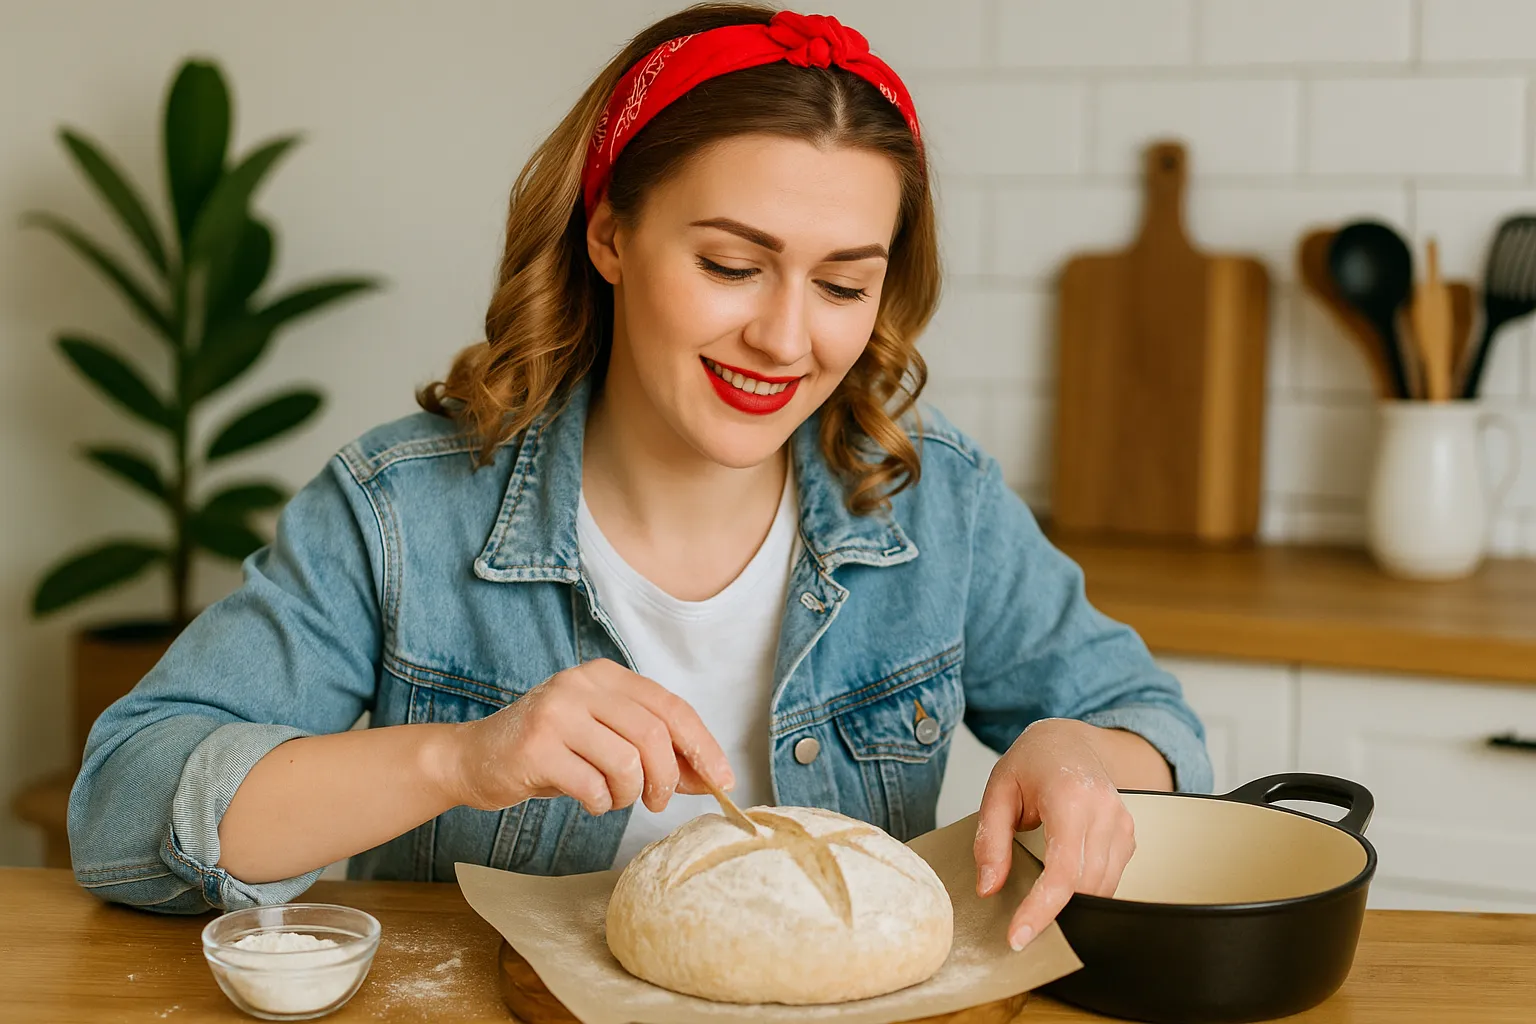
- Shape and score. Gently form into a ball and cut a few quick slashes across the top.
- Bake in Dutch oven. 30 minutes covered, then 10 minutes uncovered to brown the crust.
- Cool and enjoy. Let it rest (I know, it’s hard to wait!) before slicing.
Whole Wheat Artisan Bread Variation
Every once in a while, I crave something a little heartier. That’s when I turn this recipe into whole wheat artisan bread. I’ll swap out about a cup of the bread flour for whole wheat flour, and it instantly adds a nutty flavor and a denser, rustic texture.
If you’ve never tried it, this version is amazing with soups and stews. Just be sure to add a little extra water since whole wheat tends to soak up more liquid.
How to Make Artisan Bread Like a Pro
When I first learned how to make artisan bread, I thought it was going to be overwhelming. But honestly, once you break it down, it’s really just a series of simple steps. The two biggest game-changers for me were:
- Scoring the dough. Those little cuts aren’t just pretty—they help control how the bread expands in the oven.
- Letting it rise properly. Bread needs patience. Rushing this step is the fastest way to a dense loaf.
The more I practiced, the more comfortable I became. Now, it’s second nature. And trust me, if I can learn, so can you.
A Foolproof Yeast Bread Recipe
There’s nothing worse than spending hours on a recipe and ending up with a flat, dense loaf. That’s why I swear by this yeast bread recipe. The key is making sure your yeast is fresh and active.
If you’re ever unsure, just do a quick “proofing” test: mix a little yeast with warm water and sugar, and if it gets bubbly within 10 minutes, you’re good to go. This one simple check has saved me from so many bread fails.
My Personal Tips for Success
Here are a few tricks I’ve picked up through trial and error:
- Don’t over-flour your dough. A little stickiness is actually a good thing.
- Always preheat your Dutch oven. That’s how you get the crusty exterior.
- Resist the urge to cut into the bread too soon. Cooling is part of the process, and slicing too early can make the inside gummy.
- Try refrigerating the dough overnight for deeper flavor. The slow fermentation adds so much character.
Serving Ideas for Rustic Bread
Fresh bread is amazing on its own, but here are some of my favorite ways to enjoy it:
- Warm slices with salted butter (simple and perfect).
- Dipped in olive oil and balsamic vinegar.
- As the base for open-faced sandwiches with avocado and tomato.
- Paired with cheese and wine for a cozy night in.
Once you get the hang of this recipe, you’ll find yourself baking it just to have on hand for everyday meals.
Why This Bread Flour Recipe Stands Out
What makes this particular bread flour recipe special is its balance. The bread flour creates a chewy crumb, the Dutch oven ensures a crisp crust, and the simple method makes it accessible even for beginners.
It’s rustic, yes—but it’s also reliable. And once you’ve tried it, I think you’ll keep coming back to it again and again.
Final Thoughts
Baking bread at home has become one of my favorite rituals. It’s not just about the food—it’s about the process, the smells, the anticipation. With this bread flour recipe, you’ll get a loaf that looks impressive, tastes incredible, and makes your whole kitchen feel like a cozy bakery.
So the next time you’re craving comfort food, skip the store-bought loaf and give this recipe a try. Who knows? It might just become your new go-to, too.
FAQs
Bread flour has a higher protein content, which creates more gluten and gives your bread a chewier texture with better rise compared to all-purpose flour.
Yes, but parchment makes it easier to lift the dough in and out. Without it, just flour the pot well to prevent sticking.
Tap the bottom of the loaf—it should sound hollow. An instant-read thermometer should also register around 200°F internally.
Absolutely! Replace up to one cup of bread flour with whole wheat flour. Add a little extra water since whole wheat absorbs more moisture.
Wrap it in a clean kitchen towel or store in a bread box. Avoid plastic bags, which make the crust soft, unless you prefer sandwich-style texture.
Patience with rising time and using a Dutch oven for baking. These two steps make the biggest difference in crust and texture.
This usually happens if the yeast is old or if the dough didn’t rise long enough. Always check yeast freshness and allow enough proofing time.