AMT diaphragm parts are often the quiet reason why home pumping equipment either works flawlessly or fails at the worst possible moment.
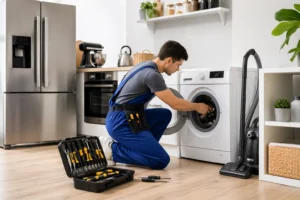
I learned this the hard way while draining rainwater from a flooded backyard after a sudden monsoon-style storm.
The pump motor sounded healthy, fuel was fine, yet water barely moved.
That experience pushed me into understanding diaphragm pump components rather than treating them as mysterious black boxes.
Once you understand how these parts work, maintaining DIY equipment becomes far less intimidating.
Why Diaphragm Pumps Matter in Home and DIY Use
Diaphragm pumps show up everywhere once you start paying attention.
They are used for dewatering construction areas, emptying ponds, moving sludge, and handling light chemical transfer.
Unlike centrifugal pumps, these systems rely on flexible membranes to create suction and discharge, which is why properly matched AMT diaphragm parts play a critical role in consistent performance.
That design makes them tougher in dirty or abrasive environments where debris would normally clog or damage standard pump systems.
For home users, this durability is often the main selling point.
When my neighbor borrowed my pump to clear water from a trench, it handled mud and gravel that would have destroyed a standard pump.
That reliability depends heavily on internal pump components staying in good condition.
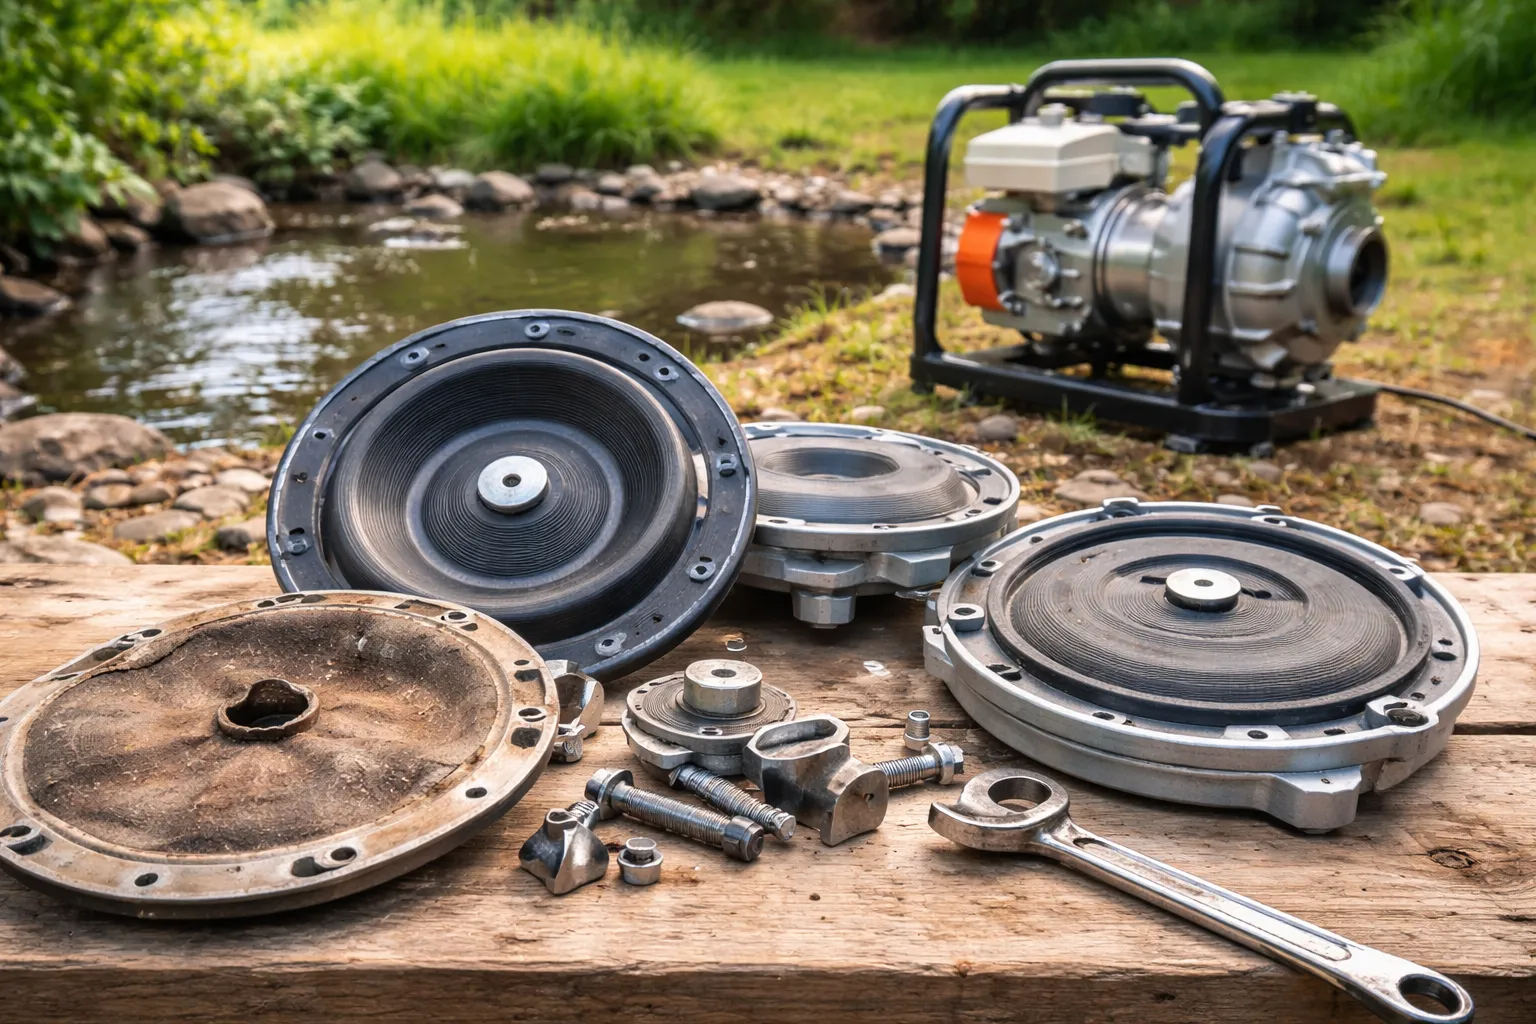
The Core Function of a Pump Diaphragm
A diaphragm works like a mechanical lung.
It flexes back and forth to pull fluid in and push it out.
This motion is driven by mechanical linkages connected to an engine or motor.
Over time, constant flexing causes wear.
Heat, debris, and chemical exposure accelerate that process.
In my case, a tiny tear near the edge of the membrane was enough to cut pumping capacity in half.
The pump still ran, which made the problem harder to diagnose.
Signs Your Diaphragm Pump Needs Attention
Reduced flow is usually the first warning sign.
Loss of prime often follows shortly after.
You might also hear a dull slapping sound instead of a smooth pumping rhythm.
Leaks around the pump housing are another red flag.
I once ignored a minor drip thinking it was a loose clamp.
Two days later, the diaphragm failed completely during a drainage job.
Replacing parts early saves time and frustration.
Understanding Replacement Options Across Brands
Not all diaphragm components are created equal.
Some manufacturers prioritize flexibility, while others focus on abrasion resistance.
CH&E diaphragm replacement options are commonly chosen for rugged jobsite applications.
Wacker diaphragms are known for consistent material quality and predictable wear patterns.
Each option serves a different use case depending on workload and fluid type.
Mixing incompatible parts often leads to premature failure.
I learned to always match materials to the application rather than choosing the cheapest option.
Compatibility and Fit Are Not Optional
Even minor size differences can affect pump efficiency.
Bolt patterns, thickness, and reinforcement layers must align perfectly.
A slightly misaligned diaphragm can cause uneven wear or vibration.
That vibration travels through the pump body and damages bearings over time.
I once installed an almost-correct replacement and noticed the pump shaking more than usual.
Within weeks, performance dropped again.
Precision matters more than it seems.
Material Choices and Real-World Performance
Rubber compounds vary widely between manufacturers.
Some are optimized for water, while others tolerate fuel or mild chemicals.
Fabric-reinforced diaphragms last longer under heavy loads.
Pure rubber versions tend to flex more easily but wear faster.
In backyard drainage work, flexibility mattered more than chemical resistance.
For slurry or debris-heavy pumping, reinforcement made a noticeable difference.
Choosing the right material saves repeated repairs.
Installation Tips From Hands-On Experience
Always clean the pump housing before installing new components.
Even small debris can cause sealing issues.
Torque bolts evenly to prevent stress points.
Avoid overtightening, as it restricts diaphragm movement.
I use a simple star pattern when tightening fasteners.
After installation, run the pump briefly without load.
That step helps seat the diaphragm properly.
Preventive Maintenance That Extends Pump Life
Regular inspection prevents emergency breakdowns.
Check diaphragms after long pumping sessions.
Look for thinning, cracks, or uneven wear.
Replace check valves at the same time when possible.
Worn valves force diaphragms to work harder.
Keeping spare parts on hand reduces downtime.
That habit saved me during a weekend project when stores were closed.
DIY Repairs Versus Professional Service
Many diaphragm pump repairs are DIY-friendly.
Basic tools are usually enough.
However, repeated failures may indicate deeper mechanical issues.
Linkage wear or bearing damage often shows similar symptoms.
In those cases, professional servicing makes sense.
Knowing when to stop troubleshooting saves money in the long run.
Experience teaches that balance.
Why Understanding Pump Parts Empowers DIY Users
Knowledge changes how you approach equipment problems.
Instead of guessing, you diagnose.
Instead of replacing entire units, you replace targeted components.
That mindset reduces costs and waste.
It also builds confidence in maintaining mechanical tools at home.
After years of trial and error, I now see pump maintenance as routine rather than stressful.
Understanding diaphragm systems makes that possible.
Final Thoughts on Long-Term Reliability
Diaphragm pumps are only as reliable as their internal components.
Consistent maintenance prevents sudden failures.
Choosing compatible materials ensures steady performance.
Real-world experience proves that small details make a big difference.
With the right approach, home equipment can perform like professional-grade machinery.
That reliability starts with understanding how every moving part works together.